Flooring4 min readApril 14, 2026Updated November 19, 2026
How to Waterproof a Laundry Room Floor in 5 Easy Steps
A laundry room takes more daily abuse than most people realize.
Thinking About Updating Your Home?
Whether you're exploring flooring, countertops, kitchens, or bathrooms — our free Design & Planning Session helps you understand your options and create a clear path forward.
A laundry room takes more daily abuse than most people realize. Between dripping clothes, the occasional washer overflow, and humidity that lingers long after a wash cycle ends, the floor underneath is constantly defending itself against moisture. The good news is that with the right approach, you can give this hardworking room a floor that shrugs off water and looks beautiful for years.
Waterproofing a laundry room floor is not as complicated as it sounds. We at The Design Gallery by Paul Evans have helped homeowners across Odessa, Midland, Andrews, Fort Stockton, and Big Springs walk through this exact project, and the steps below break down what we recommend, the materials that work best in West Texas homes, and how to get a result you will be proud of.
Why a waterproof laundry floor matters more than you think
A small drip from a hose can soak a subfloor for weeks before anyone notices. By that point, swelling, warped boards, and even mold can creep in quietly. Protecting the floor from the start saves you money, time, and the headache of repairs you never planned for.
There is also the comfort factor. A truly waterproof surface means you can mop with confidence, ignore the random splash, and actually enjoy doing laundry in a clean, fresh space. It is a small upgrade with a surprisingly big payoff.
Step 1: Inspect and prep the subfloor
Every great floor begins with what is underneath it. Check the existing subfloor for soft spots, water stains, or any signs of past leaks. If anything feels spongy or smells musty, address those issues first because no surface material can compensate for a damaged base.
Once the subfloor is sound, sweep it clean and check that it is level. Small dips can be filled with a self-leveling compound, and any cracks should be sealed before moving on.
Step 2: Add a moisture barrier or underlayment
This step is often skipped, and it is the one that quietly does the heaviest lifting. A proper underlayment with a built-in moisture barrier creates an extra line of defense between your finished floor and the subfloor below.
Want To See These Styles In Your Own Home?
Visualize flooring, countertops, and tile in your actual space before you decide. No design experience required.
POWERED BY ROOMVO — COMING SOON
In a laundry room, this layer is non-negotiable. It guards against vapor rising up from concrete slabs and any small leaks that might escape from the appliances above.
Step 3: Choose a truly waterproof flooring material
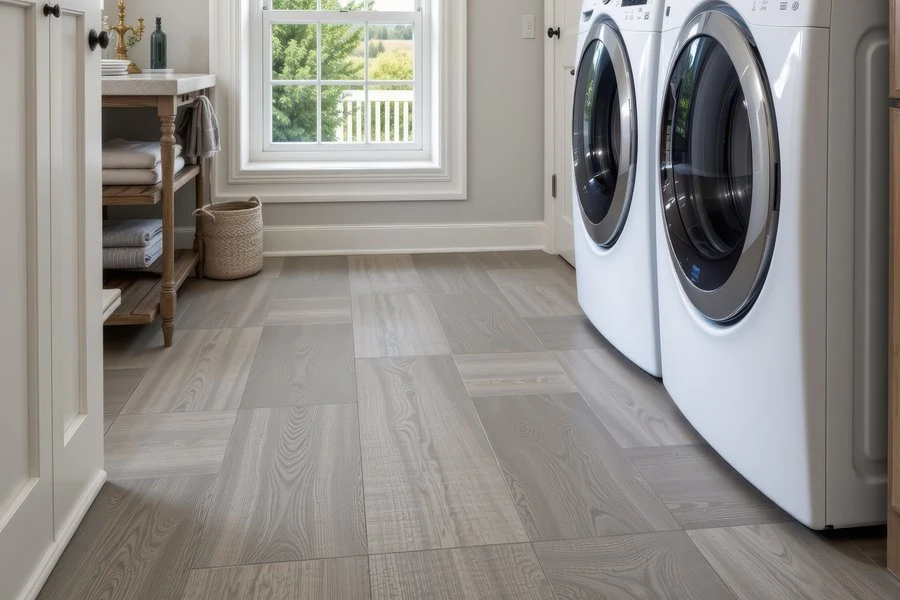
Not every floor labeled water-resistant is actually waterproof, and the difference matters in a laundry space. Our most popular choice for this room is luxury vinyl, which combines a fully waterproof core with realistic wood and stone looks that hold up beautifully under daily wear.
Porcelain and ceramic tile flooring is another excellent option, offering a hard surface that resists stains, mold, and mildew naturally. Both materials are easy to clean and built to handle the splashes and humidity that come with the territory.
Step 4: Seal every seam and edge
Even the best waterproof floor depends on what happens at the edges. Seams between planks, the gap along the baseboards, and the area around the washer hookups all need careful sealing with the right caulk or grout.
Skipping this step is the most common mistake we see. Water always finds the weakest point, so closing every gap is what turns a good floor into a truly protected one.
Step 5: Trust the install to skilled hands
A waterproof floor is only as strong as the installation behind it. Precise cuts, properly locked seams, and correctly sealed transitions are what keep moisture out for the long haul, and our team handles each detail with care during every residential installation.
A laundry room floor built for real life
When the prep, materials, and installation all come together, you end up with a laundry room that feels fresh, functions beautifully, and stands up to whatever spills its way. It is one of those upgrades you stop noticing in the best way, because it simply works.
Stop in and see what fits your space
If you are ready to give your laundry room a floor that handles every drip and splash, come visit our flooring stores and see the in-stock selection for yourself. We would love to help you choose the perfect look and get it installed quickly.
Considering New Flooring?
The right floor sets the tone for your entire home. Our team helps you compare materials, styles, and finishes to find what works best for your space and lifestyle in Odessa or Midland.
Why West Texas Homeowners Trust The Design Gallery
For more than 35 years, homeowners throughout Odessa, Midland, Andrews, Big Spring, Greenwood, Gardendale, Monahans, Seminole, Stanton, and surrounding communities have trusted The Design Gallery by Paul Evans for flooring, countertops, kitchen remodeling, bathroom remodeling, and cabinetry.