Flooring4 min readAugust 10, 2026Updated November 19, 2026
Essential Subfloor Preparation Checklist for Installing Laminate over Concrete
Living in West Texas means dealing with unique environmental conditions.
Thinking About Updating Your Home?
Whether you're exploring flooring, countertops, kitchens, or bathrooms — our free Design & Planning Session helps you understand your options and create a clear path forward.
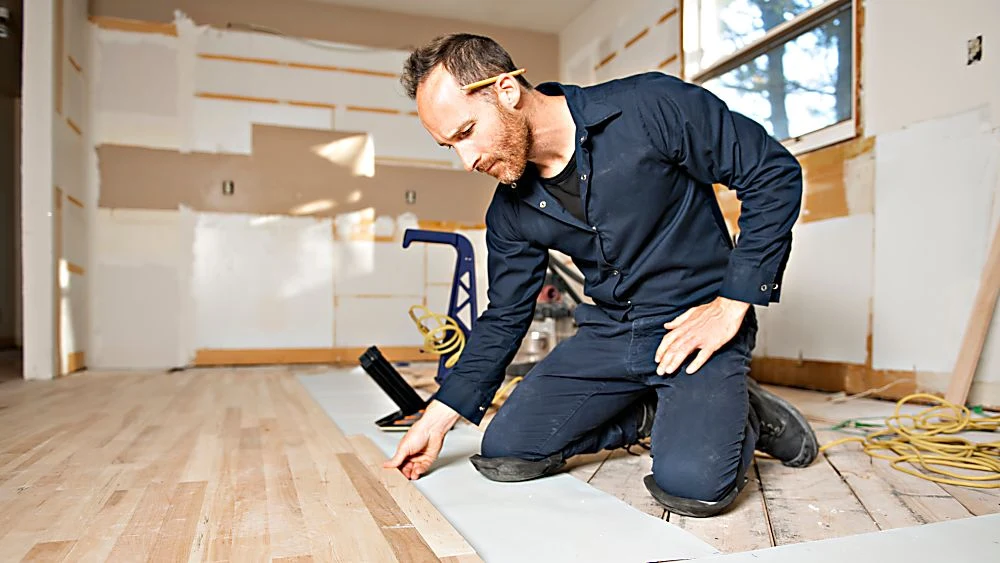
Living in West Texas means dealing with unique environmental conditions. From the dusty winds sweeping across Andrews and Big Springs to the intense heat in Fort Stockton, our homes take a beating. West Texas concrete slabs are continuously exposed to temperature shifts and moisture movement from deep beneath the soil. When upgrading your home's interior, installing durable laminate flooring is an excellent way to elevate style while standing up to high foot traffic. However, your new floor is only as stable as what lies beneath it.
Why subfloor preparation matters in West Texas
Skipping proper subfloor preparation can contribute to hollow sounds, buckling, separated planks, and moisture damage. With roots in serving West Texas dating to 1988, The Design Gallery by Paul Evans is a local flooring company that can help you assess the surface beneath your new floor. Use this checklist to understand what needs attention before laminate installation begins.
Step 1: Inspect and clean the concrete surface
Before any installation begins, your concrete slab must be completely free of debris, old adhesives, and dust. Any leftover particles create uneven spots that ruin the locking mechanism of floating planks.
Clean up all dirt, paint overspray, and drywall compound using a heavy-duty shop vacuum.
Scrape away old tile mortar, carpet glue, or wax build-up until the raw concrete is smooth.
Check for oil or chemical spills and treat them with appropriate degreasers so moisture barriers adhere correctly.
Step 2: Perform critical moisture testing
Concrete is naturally porous, drawing up moisture from the ground below. High moisture levels break down laminate cores, causing swelling and mold growth.
Conducting moisture tests
Use a relative humidity (RH) sensor test or a calcium chloride test kit across multiple spots on your slab. If your concrete registers high moisture levels, address the underlying moisture source or apply a specialized moisture barrier system prior to laying down your planks.
Want To See These Styles In Your Own Home?
Visualize flooring, countertops, and tile in your actual space before you decide. No design experience required.
POWERED BY ROOMVO — COMING SOON
Step 3: Check for flatness and leveling
Subfloor unevenness is the main cause of plank separation and annoying squeaks. A flat subfloor is essential for a long-lasting installation.
Use a 6-foot or 10-foot straightedge level across the entire room.
Ensure the floor variation does not exceed 3/16 inch over a 10-foot radius.
Grind down high spots on high concrete ridges using a hand grinder equipped with a masonry wheel.
Fill low spots, dips, and cracks using a high-grade self-leveling compound or patch material.
If your concrete foundation requires structural attention before laying new flooring, explore our professional subfloor repair services to make sure your base foundation is solid.
Step 4: Install moisture barrier and underlayment
Installing laminate directly over raw concrete without proper layering will compromise your floor. Protecting your investment requires high-performance damp-proofing.
Roll out a 6-mil polyethylene vapor barrier across the concrete floor, overlapping seams by 6 to 8 inches, and seal them with vapor-tape.
Select the right quality padding by pairing your barrier with premium underlayment to absorb sound, dampen footsteps, and add extra thermal insulation.
Ensure underlayment edges sit tight against one another without overlapping to keep the surface flat.
Get immediate professional floor installation in West Texas
Preparing subfloors takes precision, specialized tools, and technical skill. Why deal with delayed sample shipments or risk mistakes when you can get your project completed quickly and correctly? We invite you to visit our flooring stores in Midland, TX and Odessa, TX to explore our vast in-stock inventory ready for immediate pickup or delivery. Our in-store flooring experts stand ready to help you select ideal materials, while our team provides immediate residential installation to transform your space without delay.
Ready to upgrade your home? Visit The Design Gallery by Paul Evans today to visit our flooring stores in Midland or Odessa, or schedule a free consultation online to get started right away!
Considering New Flooring?
The right floor sets the tone for your entire home. Our team helps you compare materials, styles, and finishes to find what works best for your space and lifestyle in Odessa or Midland.
Why West Texas Homeowners Trust The Design Gallery
For more than 35 years, homeowners throughout Odessa, Midland, Andrews, Big Spring, Greenwood, Gardendale, Monahans, Seminole, Stanton, and surrounding communities have trusted The Design Gallery by Paul Evans for flooring, countertops, kitchen remodeling, bathroom remodeling, and cabinetry.